Hello!

I hope this email finds you well and thriving in your teaching endeavors! I wanted to introduce you to a fantastic and engaging tool that can help your students boost their math skills while adding a dash of creativity to the learning experience: Math Mugshots.

We all know that math can sometimes feel like a puzzle waiting to be solved, and what better way to tackle it than with a splash of color? Regardless of your students’ mathematical level or artistic ability, Math Mugshots can be an exciting addition to your math toolkit!

What are Math Mugshots?

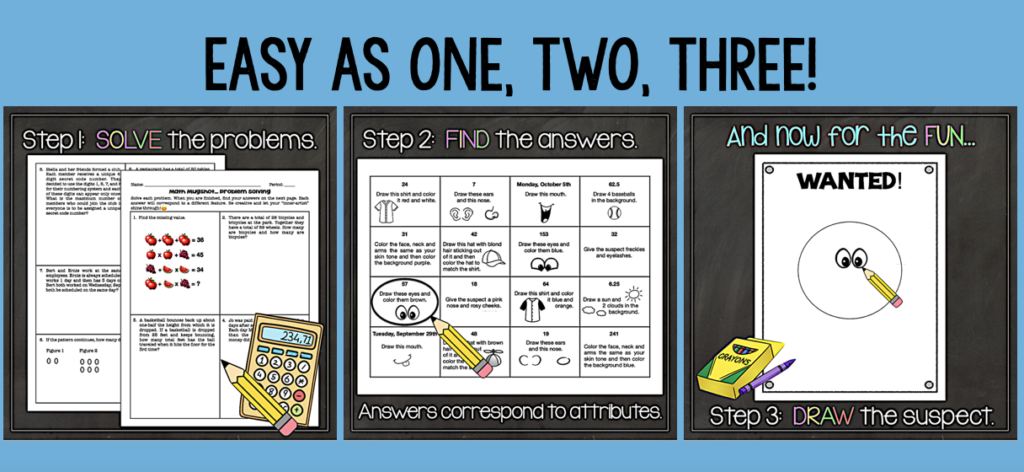
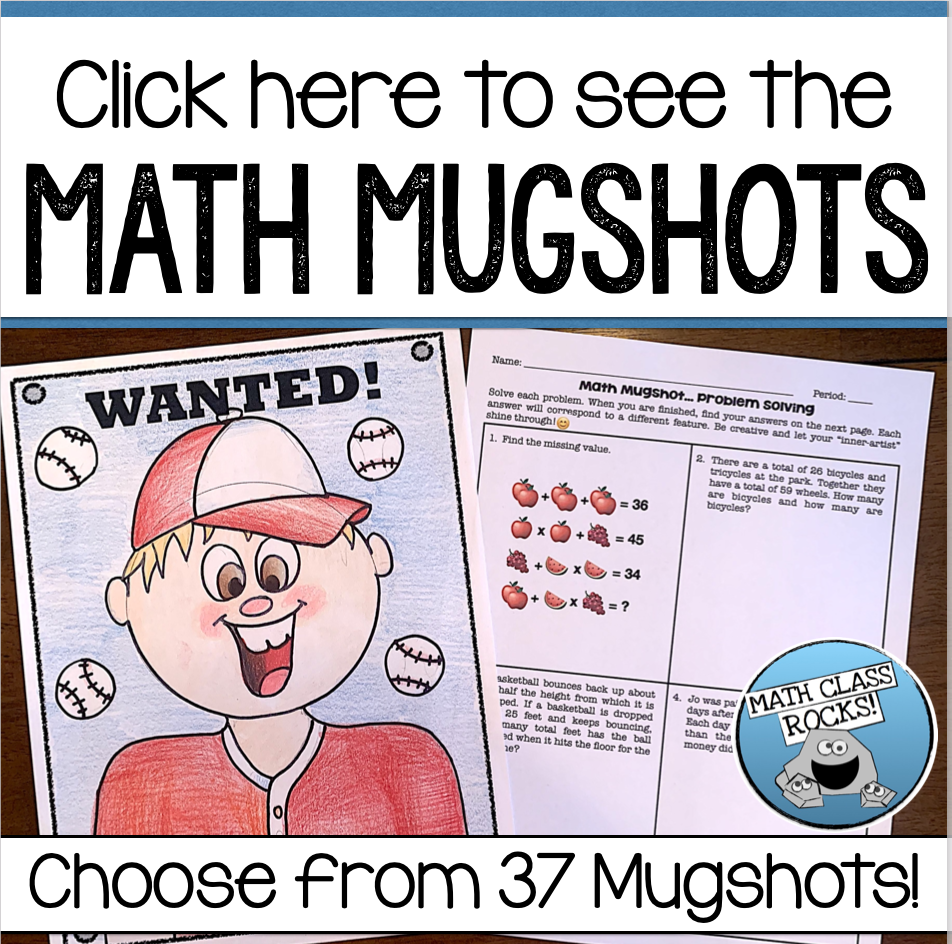
Math Mugshots are a fun and interactive way to review math concepts. Think of it as a coloring activity, but with a mathematical twist! This activity allows your students to revisit important math concepts while unleashing their creativity. It’s versatile and can be used in lots of ways!

  • Test Preparation: Use Math Mugshots to comprehensively review key math concepts before a test.
  • Homework Assignments: Infuse excitement into homework tasks by incorporating Math Mugshots.
  • Extra Credit Opportunities: Encourage students to go the extra mile by offering Math Mugshots as a rewarding challenge.
  • Assessment Tool: Assess your students’ understanding of math topics in a creative and engaging manner.
Why Use Math Mugshots?

  • Engaging Learning: Math Mugshots take the sometimes daunting task of math revision and turn it into an exciting adventure, making learning fun and memorable.
  • Versatile Use: You can seamlessly integrate Math Mugshots into your teaching strategy to cater to various learning needs.
  • Enhanced Retention: Visual and interactive learning aids retention—what better way to solidify math concepts?
  • Math for All Ages: Math Mugshots are suitable for students of all ages, from elementary to high school and beyond.

Ready to dive into the world of Math Mugshots? You can find these engaging resources in my store to get started right away! Can’t decide on just one? Choose ANY five Mugshots to create your own BUNDLE!
Thank you for being a part of the math-loving community. If you have any questions, please feel free to reach out.

Happy coloring and math-solving!😊

Kim

Last year, our school moved from 40 minutes of math to 80 (every day)….OMG!!!

By the end of the second week of school, I was SERIOUSLY looking into EARLY RETIREMENT!!

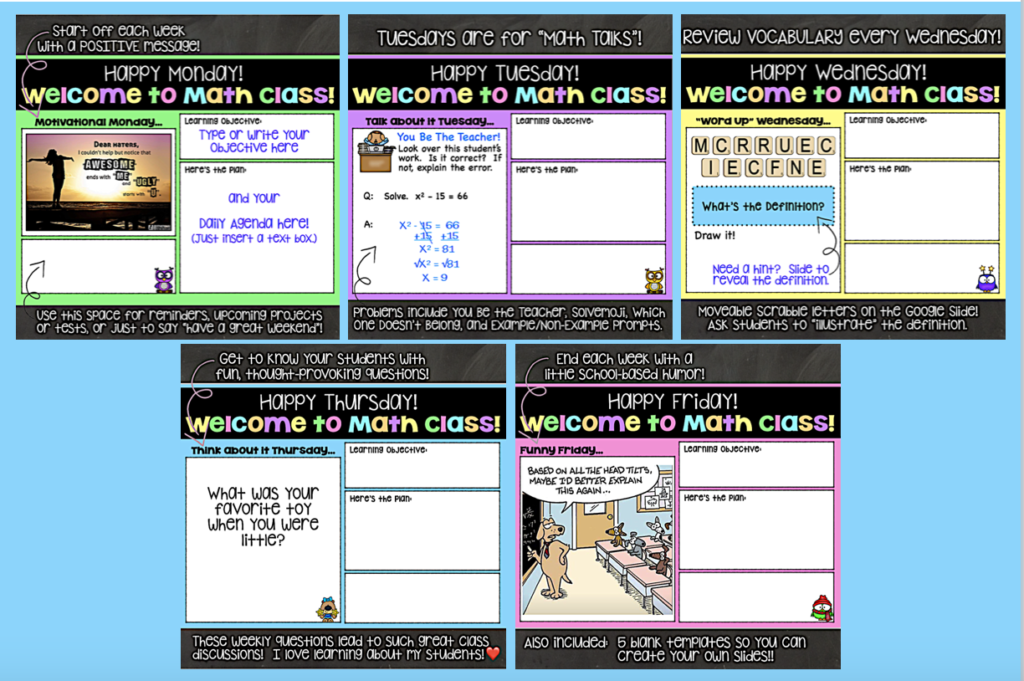
I had used warm ups in the past and had my agenda written on the board under the date every day and it was fine, but once I started projecting a Daily Agenda Slide and assigning a Daily Spiral Review, everything changed! And I didn’t retire!!

The DAILY AGENDA SLIDE

Each has a different theme… Motivational Monday, Talk About it Tuesday, Word-Up Wednesday, Thoughtful Thursday and Funny Friday!

Every slide leads to a discussion, even if it’s just “explaining the joke” on Friday.🤣

There’s also space for your learning objective, agenda and any other important info you want to share:)

Completing the warm-up and reviewing the agenda usually took about 10 minutes and then it was on to the spiral!

The DAILY SPIRAL REVIEW

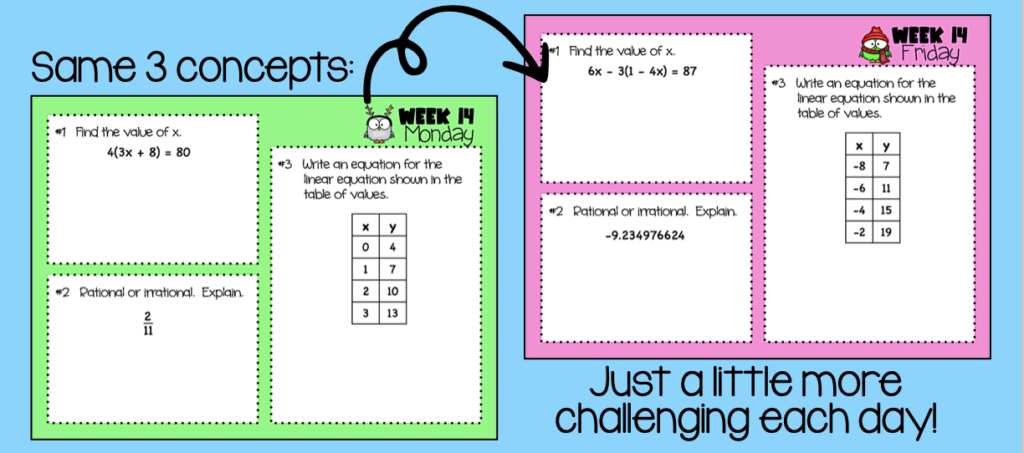
Each spiral review has 3 problems and those 3 concepts are the SAME all week long! On Mondays, I would usually give them time to work out the problems, we’d talk about the answers and then solve them together. By Friday, however, they were ON THIER OWN!! Although the problems get a little more difficult each day, they should be able to solve them with a little perseverance.

I made each slide into a Pear Deck so I could review their work and give them feedback in “real time”. But, some of my teacher friends who use the slides have the students do the problems on paper (they print the slides) or in their notebook. Either way is JUST FINE! Do whatever works for YOU!

Honestly, completing the spiral review each day definitely took LONGER than it should have!! But that just told me how desperately my students needed to keep reviewing what they previously learned. (In one ear and out the other!) Definitely time well spent!😊

The ROUTINE

Getting into this routine TRULY saved me!! My students came in every day and knew exactly what they needed to do… check the agenda and start thinking about the warm up. Then it was onto their Chromebook for the spiral! After that, what we had left was what I consider to be a REASONABLE amount of time to keep 8th graders engaged and learning new concepts. 

I kept the rest of my class period scheduled in 15-20 minute time blocks that included guided notes, partner problem solving, group work, stations, games and assessments. Just when they were about to get bored (and on my nerves), I changed it up! The perfect plan!

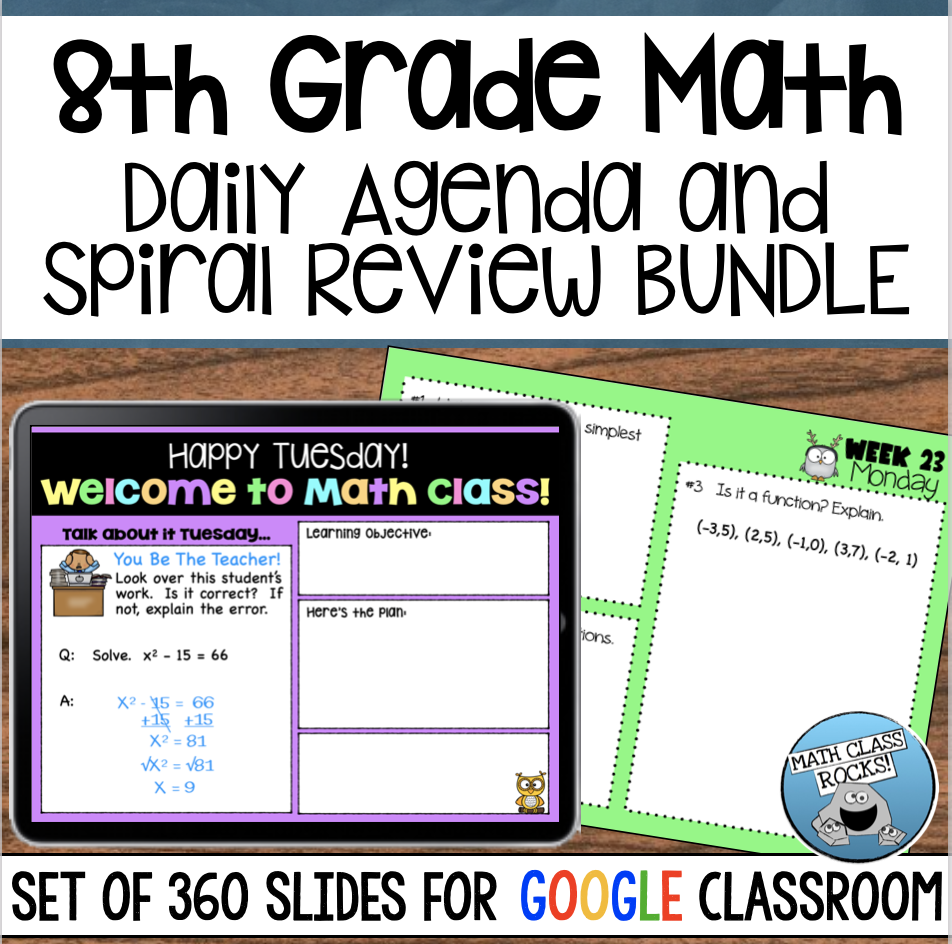
If you think this may work for you and your students, click on the image below or use THIS LINK to check it out!

And please reach out if you have any questions! I’d LOVE to hear from you!❤️

~Kim

www.mathclassrocks.com

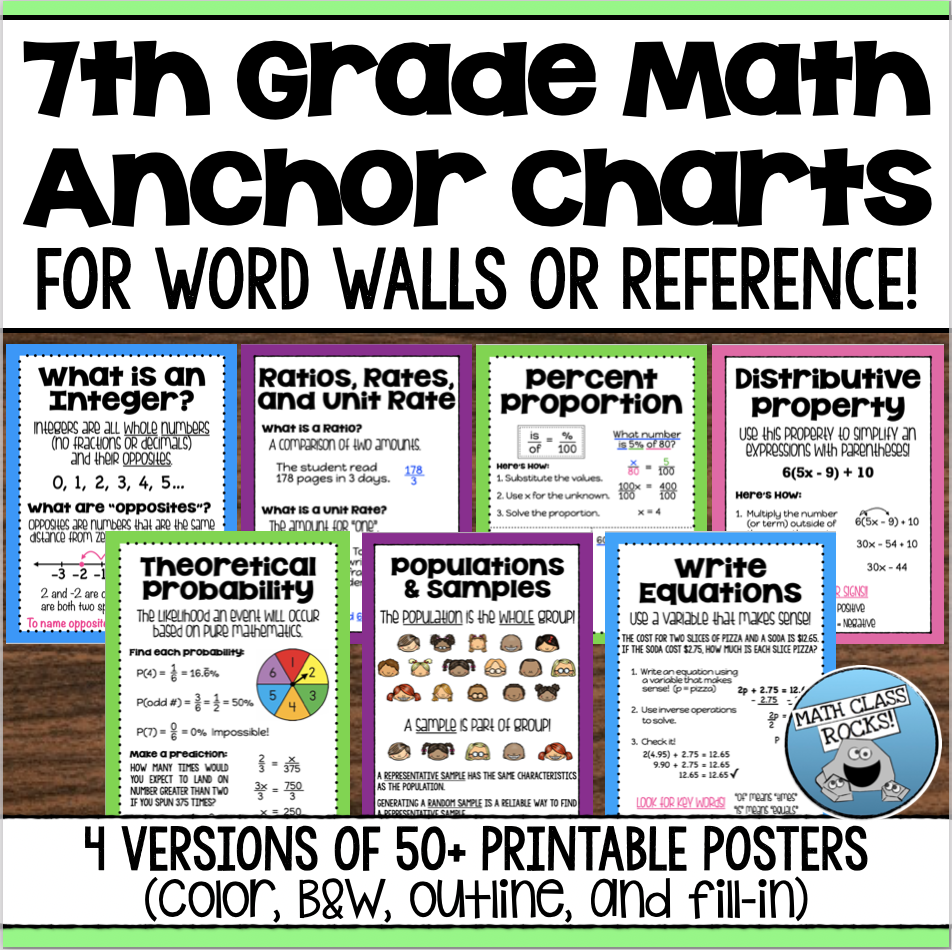
WHAT ARE ANCHOR CHARTS?

Anchor Charts are teaching tools that display important information from your lessons. They are usually displayed in the classroom on a bulletin board and are changed as you move from one topic to the next.

Anchor charts include definitions, key concepts, visual representations and examples. They make a great bulletin board that you can update as you begin each new unit!

WHY USE ANCHOR CHARTS?

  • To create a year long reference for a quick summary of each lesson
  • To support struggling learners with a visual representation so they can see the process
  • To support independent work and self-directed learning
  • To help students make connections between previously learned material and new concepts
  • To make the learning process fun and engaging

TOO BUSY TO MAKE YOUR OWN ANCHOR CHARTS? (I feel your pain!😉)

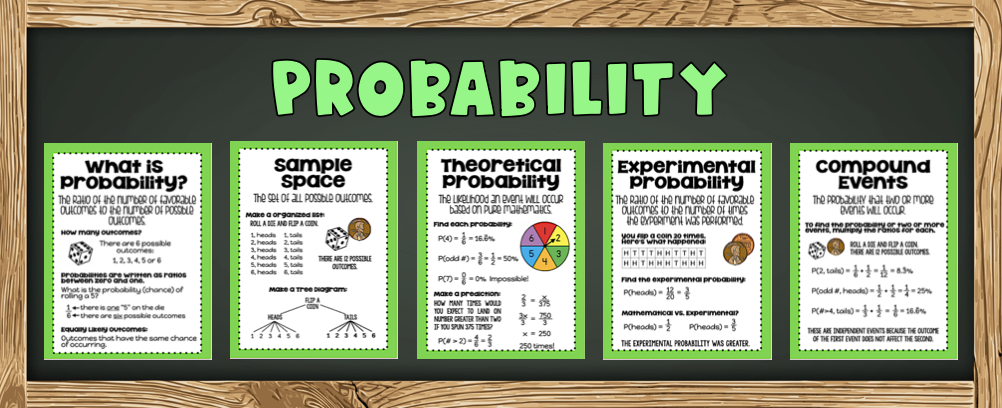
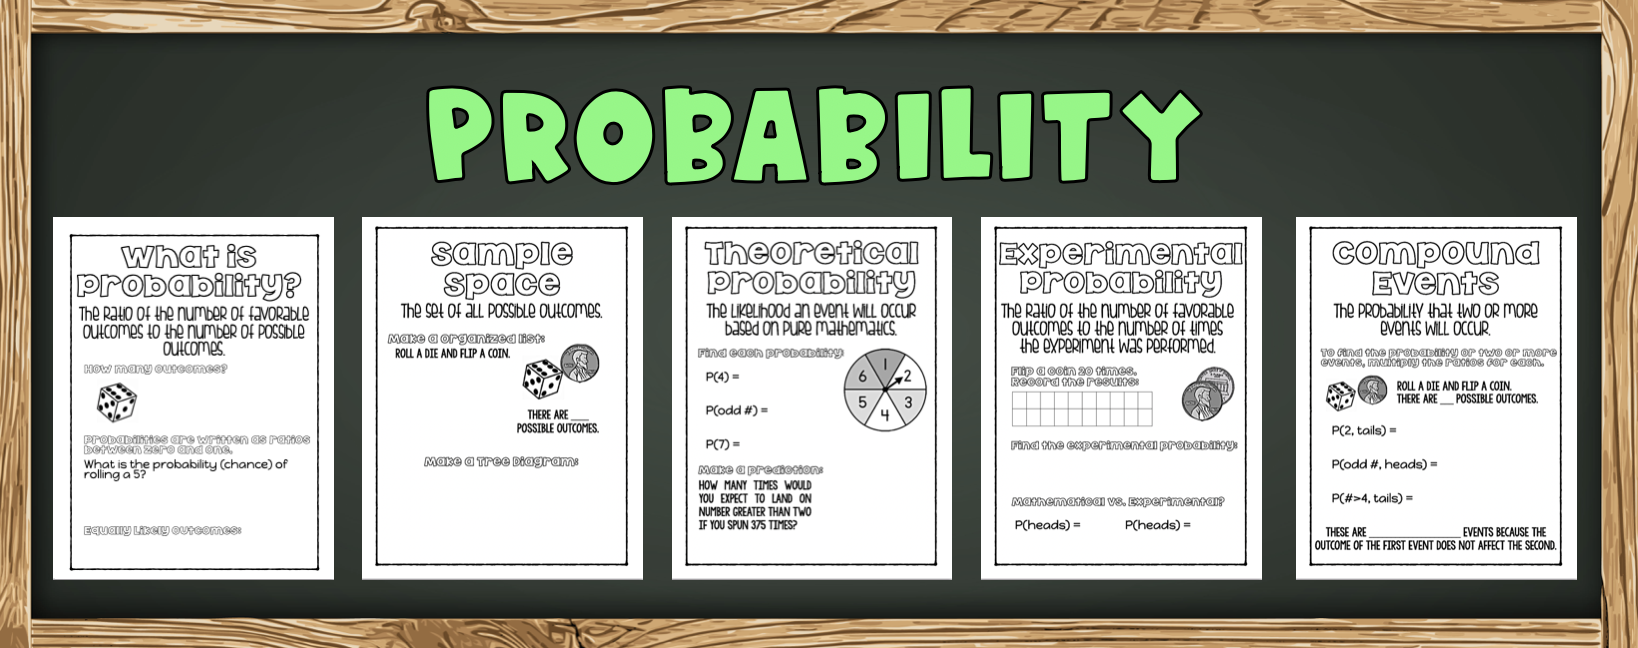
Don’t worry! You can purchase sets of anchor charts that are all ready to go… just print, laminate and “viola”! Anchor charts make a snazzy (yet educational) bulletin board that you can use all year long. Just change topics! Here are the “Probability” charts from the 7th grade set:

The charts shown below allow you and your students to fill in the examples. These are a great way to get the students engaged and involved in the lesson. Use the charts as a lesson to teach vocabulary, explain concepts and demonstrate how to solve problems through examples. Anchor charts can also be completed after the lesson to review. Once completed, display them in your classroom for quick reference any time!

INTERACTIVE NOTEBOOKS + ANCHOR CHARTS = SUCCESS🤗

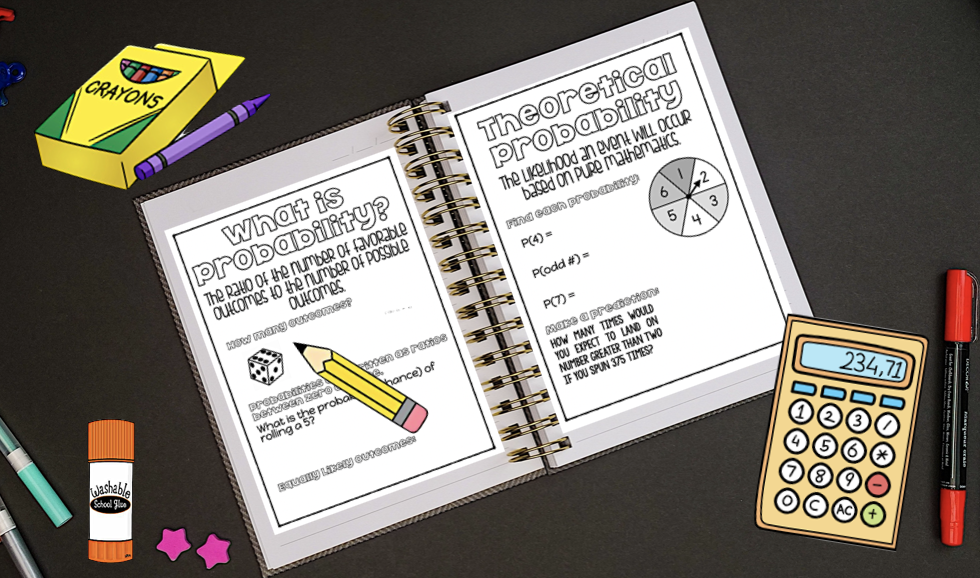
In addition to displaying your anchor charts in the classroom, you can use them for interactive notebooks. It’s the perfect way to keep you students engaged in the lesson while having the most important information from the lesson at their fingertips to refer to throughout the unit and all year long. I’m REALLY big on organization and this is also a great way to help your students keep everything together with the pages in order!

• Use the half-page “fill in” anchor charts for your interactive math notebooks. I prefer a notebook to a binder because the pages will stay in order and not get lost.

• Print copies of the anchor charts and fill them out together. Allow the students to make the pages “their own” by filling in the examples and adding color.

• Helpful hint: Don’t glue the page in until they are completely filled in and colored. Sometimes the glue makes it lumpy which is hard to write on and that can be frustrating.😡

On a side note, I HIGHLY recommend Elmer’s Spray Adhesive. Aside from the fact that it can be a little stinky (make sure to not breathe in too deeply), it is a game-changer, I promise! The pages dry COMPLETELY FLAT with no lumps at all. I use spray glue for everything and have introduced it to all of my teacher friends:)

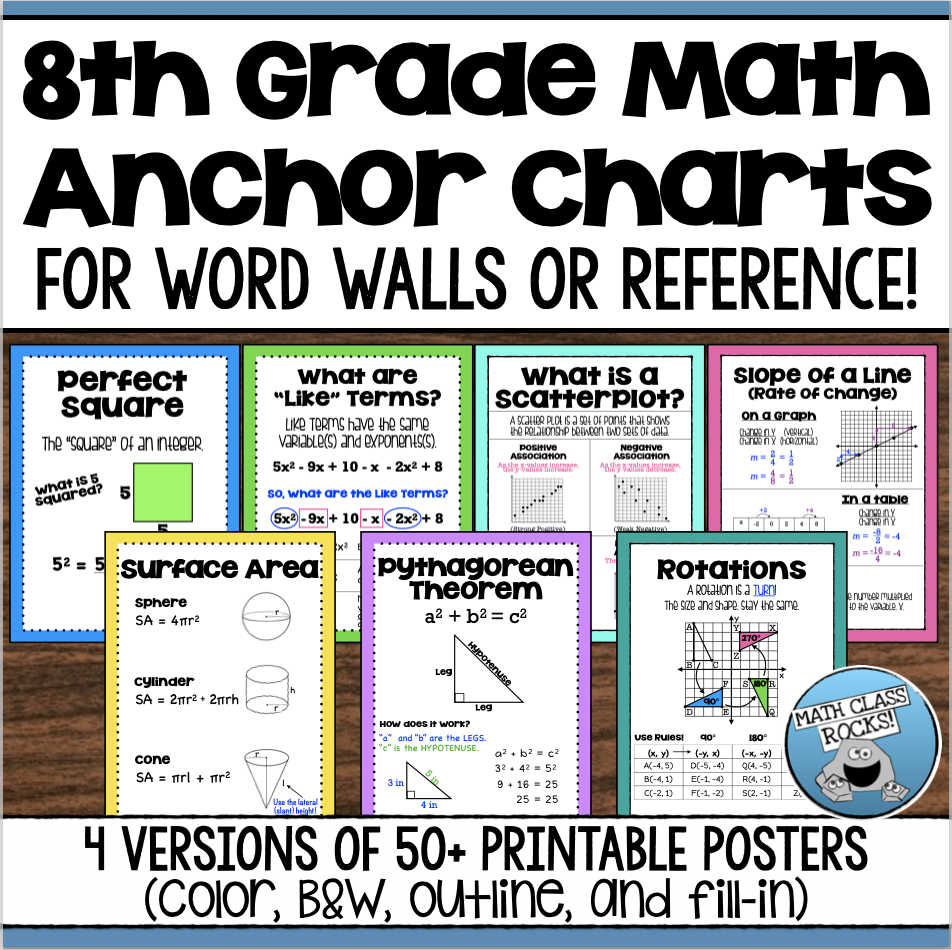
Click on the pictures below to view (and maybe purchase) the perfect sets of anchor charts for your students!

If you have any questions or comments, please reach out. I’d love to hear from you! ~Kim

The 8th grade math curriculum is NO JOKE!!  Let’s just start there.

As teachers, our #1 priority is for ALL of our students to learn and be successful. Unfortunately, many of the math programs are geared toward our more advanced students and this leaves our lower-level students (often the largest population) struggling and feeling like they simply cannot learn.

Not only is our board-approved math program filled with examples that contain numbers that are difficult to work with, but it’s also riddled with crazy solutions!!  For example, the very first problem they show for solving equations with variables on both sides includes repeating decimals and has NO solution!  

What the heck??  Talk about confusing the kids and making them feel defeated from the start!!😳

I needed to do something, so I started making guided notes for each lesson.  The most important thing was to KEEP IT SIMPLE.  Yes, we know 8th graders should be fluent with fractions and decimals, but let’s face it… they’re not!

Students needs to start with basic problems to learn the process before moving onto more difficult problems involving rational and irrational numbers. I tried using guided notes with simple numbers and simple solutions every time I introduced a new concept and it worked!🤗

Why use Guided Notes?

  • The steps are listed so the students can focus on the process of solving problems instead of copying notes.  
  • Helps to keep students organized.  (Especially if when ALL of the notes are bound together.)
  • The completed examples can be used as a reference over and over again.  
  • The progression of the examples help students build confidence as they move toward harder problems. 

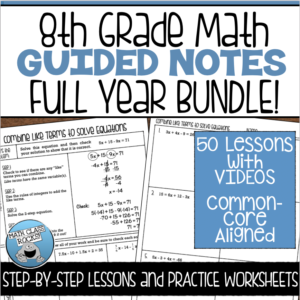
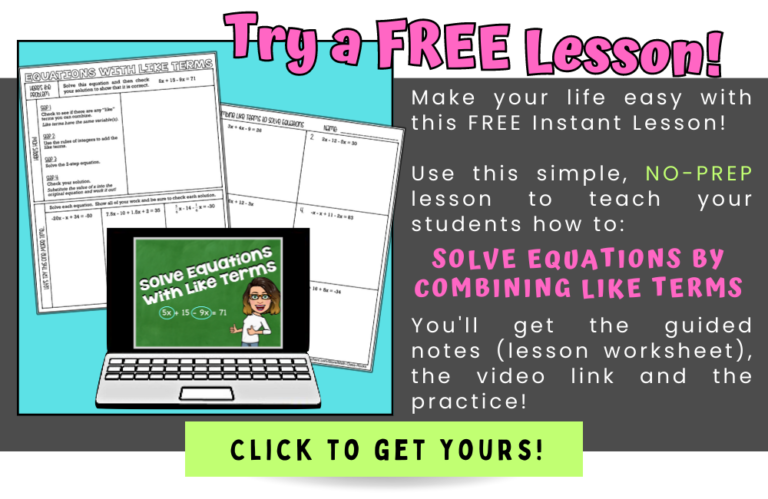
Each lesson worksheet (the guided notes) is only ONE page and includes a VIDEO link so your students can see each of the examples, step-by-step.   There is also a worksheet for each lesson so the students can “show what they know”!

How I Use Guided Notes with my classes:

I start by projecting the lesson worksheet on my smart board and then “guide” my students through each example. I  post the video for each lesson on my Google Classroom page so they can review what they’ve learned at any time and see the examples again if they need a little “refresher”.  The videos are SO helpful when students are absent or if YOU are absent and want the learning to continue!

After completing the examples together, I hand out the practice worksheet.  There is one for each of the 50 lessons.  Again, they  start simple and then move into more complex problems.  I’m all about collaboration so I like to have my students work with a partner so they can talk about math, check each others’ work and deepen their understanding.  Click HERE to view all 50 lessons!

Click on the image to view ALL of the lessons! You’ll find a total of 50 complete lessons (guided notes, videos and practice worksheets) all carefully aligned to the 8th Grade Math Common Core Standards! Teaching math has never been easier!😊

What Else?

I print ALL 50 of the lesson worksheets and put them folders (with fasteners) for each of my students.  Yes, it’s a little time consuming, but WELL worth the effort!   Each student receives their folder on the first day of school and we use them ALL year long!!   I’ve been around long enough to realize that 8th graders aren’t spending a whole lot of time doing math at home, so I keep their folders in my classroom 24/7!  We don’t have to worry about them getting lost or damaged and there’s no time wasted with trips to their lockers.

I also find it motivating to let them refer to their “notes” whenever they take a quiz.  There’s something to be said about “looking it up” and applying what they’ve learned to a new problem.  It’s a life skill for sure and the fact that they think I’m the NICEST TEACHER EVER for letting them use their notes goes a LONG way!😉

I’ve had tremendous success so if this is something you think may work in your classroom, I’d LOVE for you to give it a try. Please let me know what you think!

Kim